You’ve seen those drawings that seem to pop off the page, floating cubes, staircases that loop forever, holes that look real enough to fall into. Now you want to make one yourself, and you’ve probably typed optical illusion sketch into Google more than once looking for a tutorial that actually breaks it down instead of just showing finished examples with no explanation.
Here’s the good news: you don’t need advanced art training to pull this off. Most of these effects come down to a handful of repeatable tricks like shading angles, grid tricks, and line placement, and once you understand the logic behind them, you can apply it to almost any shape. This guide walks through exactly how to build one from a blank page, step by step, so you’re not just copying an image but actually learning the technique.
Below, you’ll find a simple easy optical illusion drawing you can finish in one sitting, plus a method for adding a 3D pop-out effect once you’re comfortable with the basics. Grab a pencil, some paper, and a ruler, and let’s get drawing.
What you need before you start
Grab your supplies before you sit down, because stopping mid-sketch to hunt for a ruler kills your momentum. The good news is you probably already own everything on this list. An optical illusion sketch doesn’t need fancy art supplies, it needs the right basic tools used with precision, since these drawings live and die on straight lines and consistent spacing.
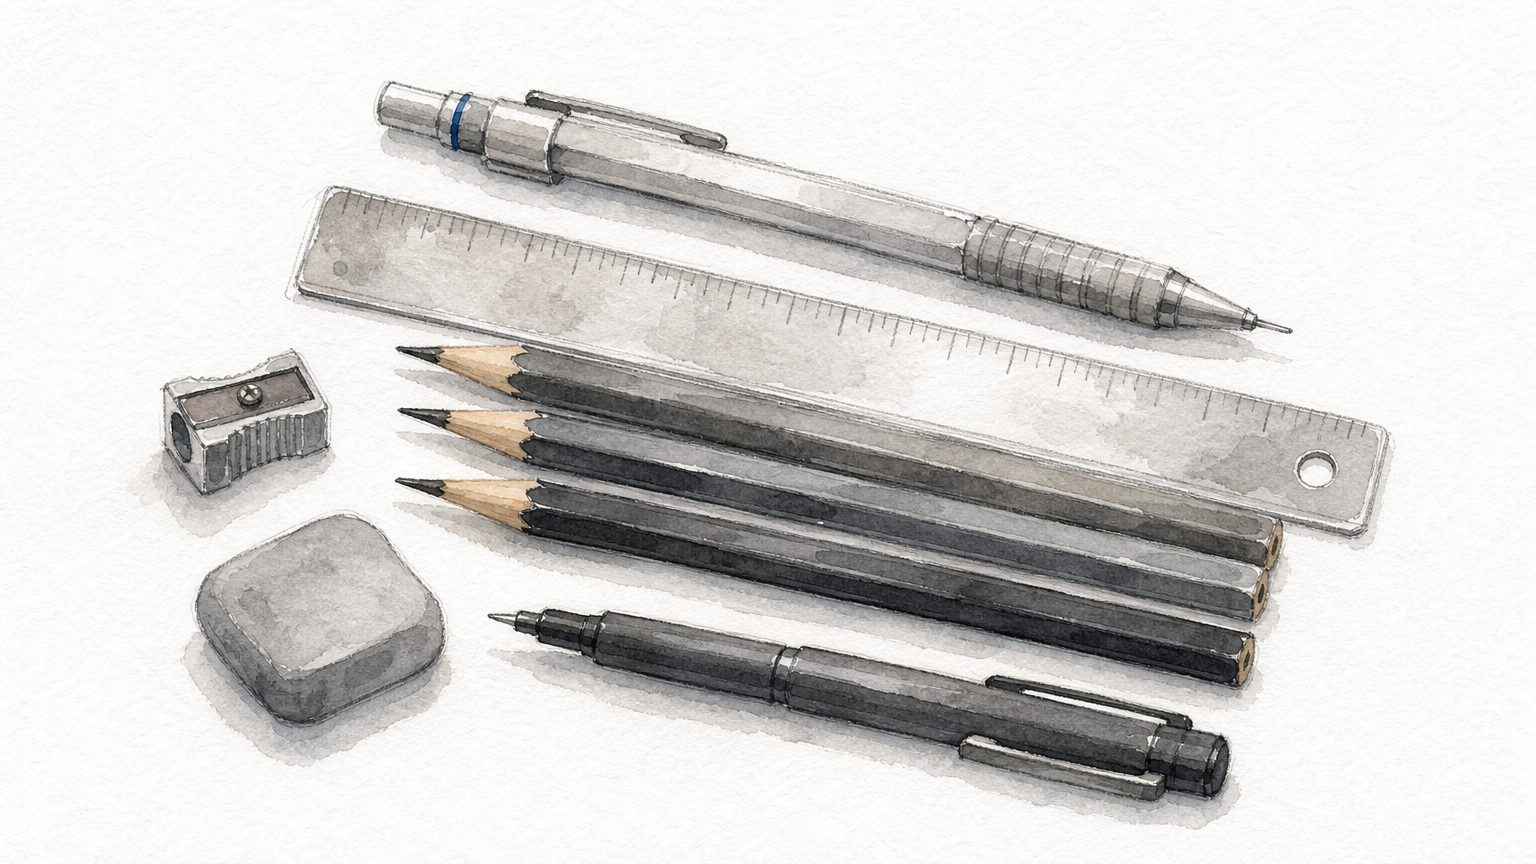
Here’s what to gather:
- Plain white paper (printer paper works fine, but a sketchbook holds up better to erasing)
- A mechanical pencil or a sharp 2H pencil for thin, precise lines
- A ruler or straightedge, at least 12 inches long
- A soft eraser that won’t smudge or tear the paper
- A fine-tip black pen (0.3mm or 0.5mm) for the final inked lines
- Graphite pencils in a few grades (HB, 2B, 4B) if you want to shade the 3D version later
Why precision tools matter more than talent
The ruler is the real star here, not your drawing skill. Optical illusions trick the brain because the lines are mathematically consistent, curved lines that bend at exactly the same rate, or straight lines that hit the same points across a grid. A shaky freehand line breaks the illusion instantly, even if the rest of the drawing looks fine. That’s why a mechanical pencil beats a regular one too, since it keeps a constant line width instead of thickening as the tip wears down.
An optical illusion sketch works because of consistency, not artistic talent.
Once you’ve got your materials laid out, set aside about 20 to 30 minutes of uninterrupted time for your first attempt. Rushing through the guideline stage is the most common reason beginner illusions look flat instead of dimensional, so give yourself room to measure twice before you commit to pen.
Step 1. Sketch your base outline
Start with the simplest shape you can find, a circle, a square, or a basic hole shape drawn lightly in pencil. Most beginner tutorials jump straight into complex grids, but your base outline is what everything else wraps around, so keep it clean and centered on the page. A 3 to 4 inch circle or square works best for a first try since it gives you enough room to add curved lines later without things looking cramped.
Press lightly with your pencil at this stage. You’ll be erasing and adjusting these lines constantly as you build out the illusion, and heavy pencil marks smear and leave ghost lines on the paper. Center the shape roughly two inches from the top edge of your page, leaving space below for the grid lines you’ll add next.
Your base outline is the anchor for the whole illusion, get it centered and light before anything else.
Don’t worry about perfection here. This outline just marks where your guide lines will eventually curve or bend, so a slightly imperfect circle still works fine once the grid lines take over the visual weight.
Step 2. Draw the guide lines across the page
Now grab your ruler and draw horizontal lines across the entire page, spaced about a quarter inch apart. These guide lines are what actually create the illusion, since the bending happens when they curve around your base outline instead of staying straight. Draw them lightly at first, running edge to edge, ignoring the shape sitting in the middle.
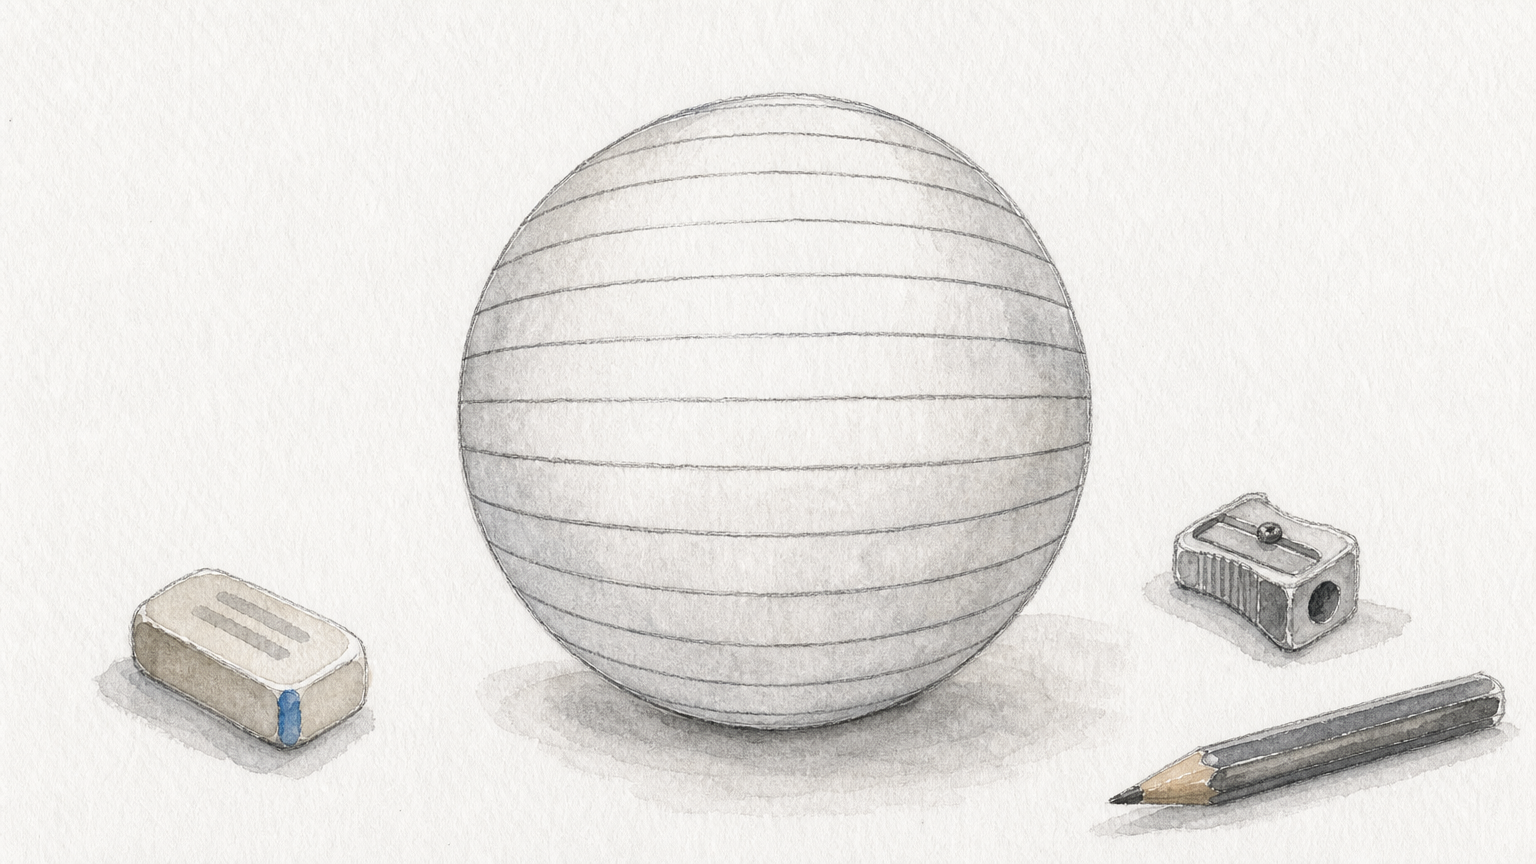
When a line reaches your circle or square, stop and reroute it around the shape instead of straight through it. This is the step that turns a flat sketch into an easy optical illusion drawing that tricks the eye, because your brain reads the bent lines as proof that the shape underneath has real depth. Keep the spacing consistent line to line, even as they curve, since uneven gaps are the fastest way to break the effect.
The illusion isn’t in the shape, it’s in how the straight lines bend around it.
Check your spacing with the ruler every few lines. If one gap looks noticeably wider or narrower than its neighbors, erase and redraw it before moving forward, since small errors here get magnified once you add shading in the next step.
Step 3. Add curves and shading for the 3D effect
Once your guide lines curve cleanly around the base outline, switch to your softer pencils (2B or 4B) to build the shading that sells the illusion. Pick one consistent light source, usually top-left, and stick with it across the whole drawing. Darken the lines and gaps that would fall in shadow if the shape were actually three-dimensional, and leave the areas facing your imaginary light source untouched.
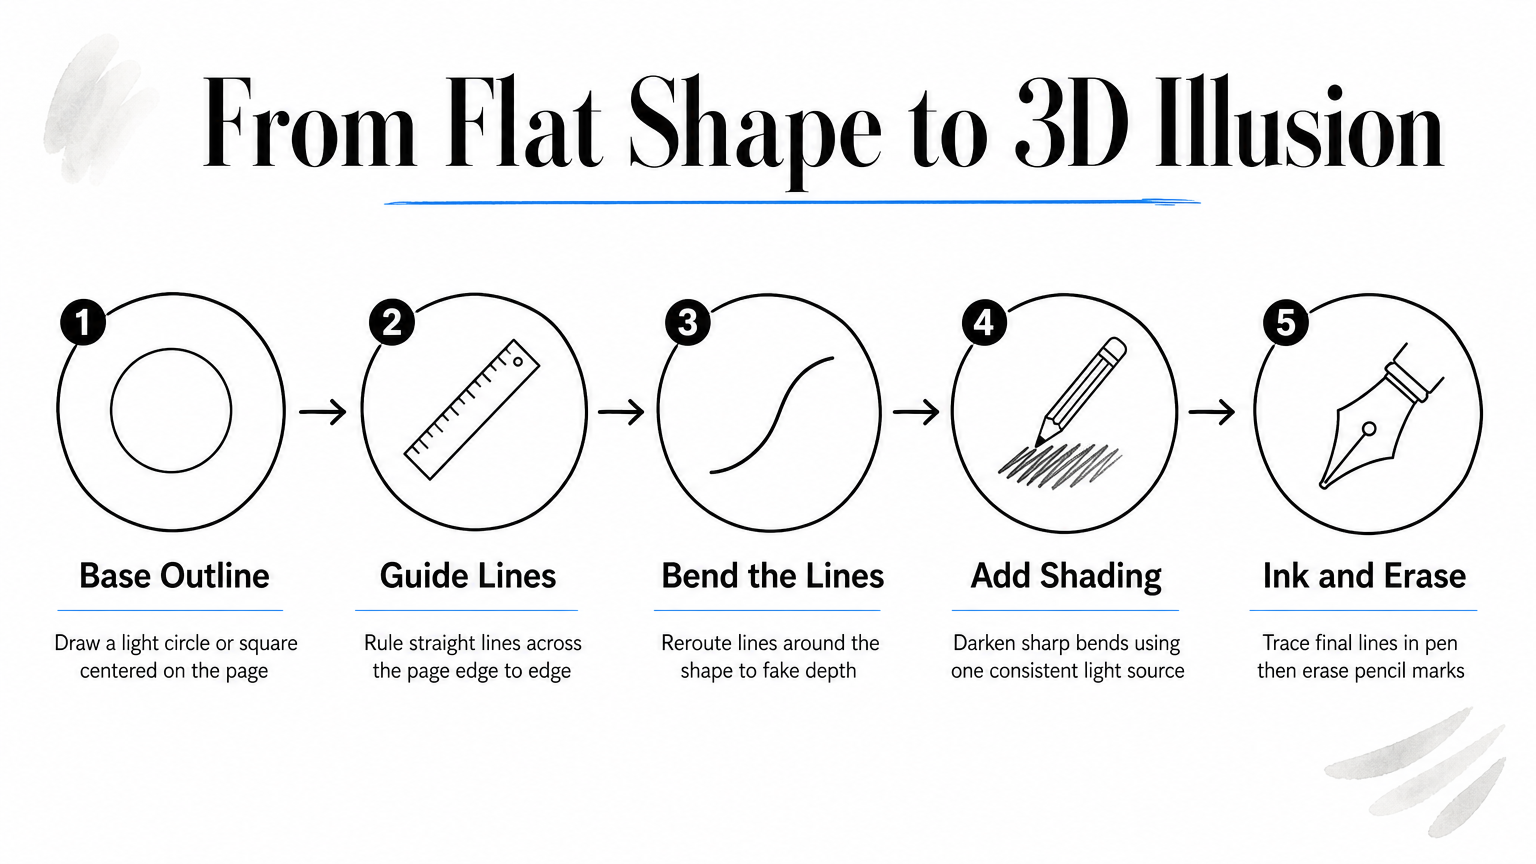
Focus your darkest shading right where the guide lines bend the sharpest, since that’s where a real bump or hole would cast the deepest shadow. Blend gently with your finger or a blending stump so the transitions look smooth instead of streaky. This shading step is what pushes a flat grid into a real 3D effect, because your brain uses light and shadow cues just as much as line placement to judge depth, which is exactly what happens when your mind and your eyes disagree.
Shading is what convinces the brain there’s actual depth, not just bent lines on paper.
Once the pencil work looks right, trace your final lines with the fine-tip pen and let the ink dry fully before erasing any leftover pencil marks underneath.
More easy optical illusion drawing ideas to try
Once you’ve nailed the bending grid, try swapping the base shape for something new instead of starting from scratch. The same guide line technique works on almost any outline, so this is where you start building a small portfolio instead of one lucky sketch.
Here are a few ideas worth trying next:
- Impossible staircase: draw a square spiral, then bend your guide lines around each step to fake a loop that never ends
- Floating cube: sketch a simple cube outline, then run curved lines only across two of its faces to make it look like it’s lifting off the page
- Pop-out hole: reverse your shading from Step 3 so the center looks darkest, tricking the eye into reading a hole instead of a bump
- Wavy letter: write your initials in block letters, then run the same bending grid straight through them for a warped, 3D typography effect
Once you understand the bending grid, you can apply it to letters, cubes, and staircases just as easily as a circle.
Each of these starts from the same three steps you already practiced, just with a different base outline underneath.
Ready to draw your own illusion?
You’ve now got the full process: a light base outline, straight guide lines bent around it, and shading that fools the brain into seeing depth. That’s the entire trick behind almost every optical illusion sketch you’ve ever scrolled past online. The only thing separating a flat doodle from a jaw-dropping illusion is patience with your ruler and consistency in your spacing, not raw talent.
Grab scrap paper and run through the steps again with a new shape before you commit to your good sketchbook. Try the impossible staircase or the pop-out hole from the list above once your circle looks solid. Each attempt teaches you something about spacing and shading you won’t pick up from reading alone.
If you’re craving more brain-bending visuals to study or share while you practice, start with the viral square puzzle that’s making everyone rethink how they see the world.